
A leaky shower tray can quickly turn a relaxing bathroom experience into a stressful plumbing nightmare, especially if the old sealant has failed. Not only does it lead to water damage, but it also creates a breeding ground for mould and mildew around your shower, compromising the overall health and hygiene of your bathroom. Fortunately, with the right knowledge and techniques, including how to smooth the silicone, you can effectively seal your shower tray and prevent these issues.
Identifying the Source of the Leak
Before diving into the sealing process, it’s crucial to pinpoint the exact cause of the leak in your shower enclosure. Common culprits include:
- Cracked or Damaged Tray: If the tray is cracked or damaged, it may require a new sealant to restore its waterproof integrity. Over time, shower trays can develop cracks or chips, especially if they’re made of brittle materials like acrylic or fibreglass, necessitating the use of silicone sealant remover and new sealant.
- Faulty Sealant: If the old sealant has deteriorated, it may need to be replaced with fresh silicone sealant. The silicone sealant around the edges of the tray is essential for preventing water from seeping through. If it’s old, cracked, or improperly applied, leaks can occur.
- Incorrect Installation: Ensure that the tile is installed correctly around your shower to prevent issues with the shower tray and to maintain a watertight seal. Improper installation of the shower tray can lead to gaps and misalignments, allowing water to escape.
Landlord Responsibilities
If you’re a renter, it’s essential to understand your landlord’s responsibilities, especially when it comes to proper sealing in the shower. In most cases, significant repairs, such as replacing a damaged shower tray or addressing major leaks in the shower enclosure, fall under the landlord’s purview, emphasizing the importance of proper sealing. However, routine maintenance, like sealing around the shower tray, may be your responsibility. Always consult your tenancy agreement to clarify your obligations.
DIY Sealing Techniques for Homeowners
If you’re a homeowner and the leak is due to a faulty sealant, you can often fix it yourself by removing the old sealant and applying new silicone. Here’s a step-by-step guide:
- Prepare the Surface: Clean the area thoroughly and use masking tape to ensure a neat application of the silicone; remember to remove the masking tape afterward for a clean edge. Remove any old, loose sealant using a scraper or utility knife. Clean the area thoroughly with a cleaning agent to remove dirt, grime, and any residue, making it ready for applying silicone. Ensure the surface is dry before proceeding to apply the silicone sealant around your shower.
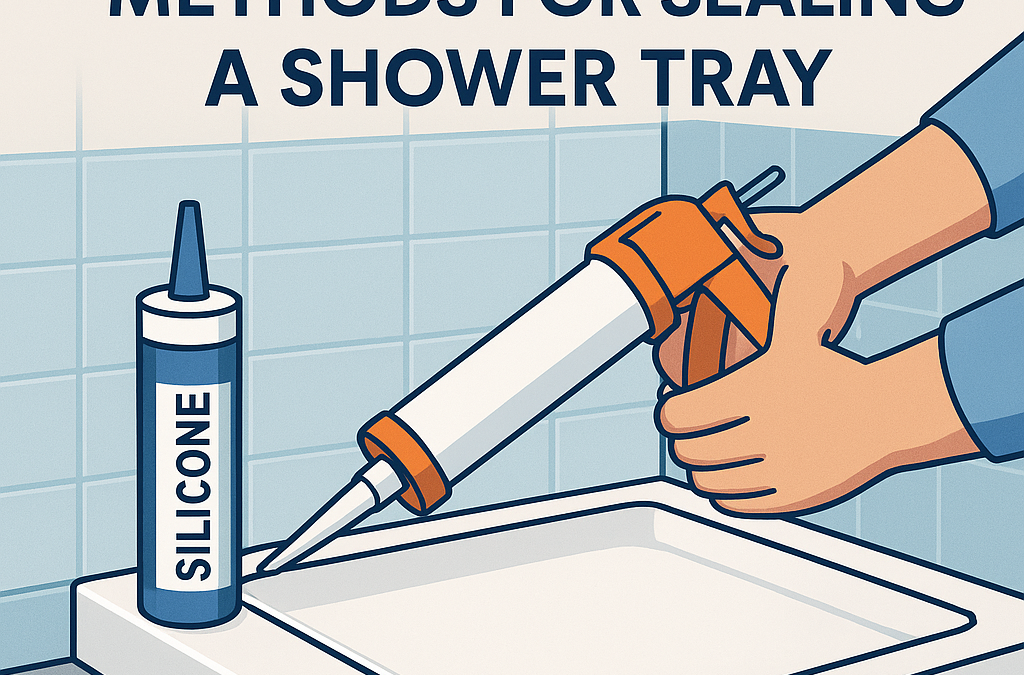
- Apply the Sealant: Use a caulk gun to apply the sealant evenly. Use a high-quality, silicone-based bathroom sealant from a sealant tube for the best results. Apply a bead of fresh silicone sealant along the edges of the shower tray where it meets the wall and floor, ensuring it’s smooth and even.
- Smoothing the Sealant: After applying silicone, use a nozzle for a smooth finish. Use a sealant smoothing tool or a damp finger to smooth the silicone sealant and remove any air bubbles.
- Curing Time: Allow the new sealant to cure as per the manufacturer’s instructions to ensure a watertight seal. Allow the new sealant to cure completely as per the manufacturer’s instructions to ensure a waterproof seal. It typically takes 24-48 hours for the new sealant to cure properly, as indicated in the comprehensive guide.
Professional Help – Contact Landlord Property Maintenance
If the leak is severe, or if you’re unsure about tackling the repair yourself, it’s best to consult a professional plumber who can smoothly apply the new silicone sealant. They have the expertise and tools to diagnose the problem accurately and implement the appropriate solution, whether it’s repairing a damaged tray or re-sealing the edges with silicone, following a DIY guide if necessary.
By following these guidelines and seeking professional help when necessary, you can effectively seal your shower tray and prevent water damage, mold growth, and other related issues with proper shower tray sealing techniques.
Recent Comments