
A freestanding bath adds a touch of luxury to any bathroom. But let’s face it, the exposed pipes underneath can be an eyesore, especially when trying to fit a bath panel. This is where the magic of an acrylic bath panel comes in! Not only does it hide unsightly plumbing, but it also creates a sleek, finished look.
But wait, you’re a renter! Fear not, your new bath will look great! Installing an acrylic bath panel is a simple DIY project that won’t damage your landlord’s property. As long as you follow these steps and avoid any permanent modifications, you can install a bath panel and enjoy a beautiful bathroom without breaking the bank (or the lease agreement).
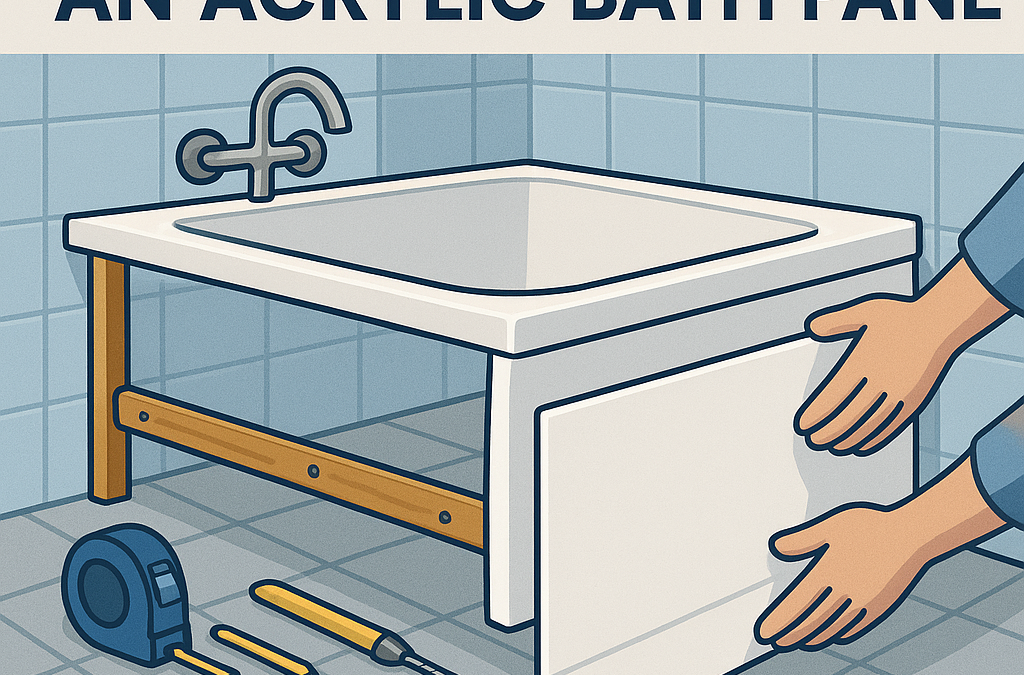
What You Need To Fit an Acrylic Bath Panel
- Your brand-new acrylic bath panel
- Tape measure
- Spirit level (to ensure a straight and level installation of the wooden bath panels)
- Pencil
- Wooden batten (length should match your bath panel)
- Electric drill will make the installation of your new bath panel easier.
- Wood screws (length appropriate for the batten thickness) will help secure the panel in place.
- Optional: Decorative screw caps (for a polished finish)
1. Measure Twice, Cut Once (Maybe)
Start by measuring the length of your bath. Here’s the renter-friendly tip: Most acrylic bath panels are designed with a slight flex for a snug fit against the lip of the panel. This means you likely won’t need to cut the panel itself.
2. Batten Up the Base
Next, grab your wooden batten and hold it against the bottom edge of your bath, ensuring it’s level using your spirit level. Mark the wall where the batten meets the floor and the bath to the floor.
3. Secure the Support
Using your trusty drill, drill pilot holes into the marked spots on the wall. Remember, we’re renters, so avoid drilling directly into the edge of the bath itself! Now, screw the batten securely to the wall.
4. Slide and Smile
Time to see your hard work come together and fit an acrylic bath panel! Carefully slide the bottom lip of your acrylic bath panel under the bath itself. The panel should rest snugly against the newly installed wooden batten and plinth.
5. Drilling for Stability (Optional)
For extra peace of mind, you can drill pilot holes through the bath panel (not the bath itself!) and into the batten. Secure the panel with wood screws (and decorative caps if desired) to hold the main panel into place.
Congratulations! You’ve successfully transformed your bathroom from exposed pipes to a polished haven. Now you can relax and enjoy your beautiful freestanding bath.
Landlord Property Maintenance Disclaimer
Before diving in, it’s always a good idea to check your tenancy agreement regarding modifications like fitting a bath panel. Some landlords may prefer to handle specific bathroom installations. If you’re unsure, a quick call to your landlord can save you any potential trouble down the road.
Recent Comments